Showing posts with label mollasses. Show all posts

Friday, 12 October 2012

DAY TWELVE: Ginger granola bake

I‘m in bake mode!!

I am also in ginger mode….as a spin off from this recipe we now have a ginger granola bake. Of course you don’t have to top it with the ginger granola…but it is sooo good if you do, just saying! Double dose of oats- perfectly fitting for my Vegan MOFO theme.


I have made this bake a couple of times, the first time I put less baking powder and took it out of the oven slightly earlier when it was barely cooked through, this gave it a dense chewy, dessert-like consistency, whereas the recipe below should be more cake-like (does that make sense?)

I’d advise you taste test the batter before spooning into the dish to judge your own personal preference on sweetness- add a little more agave/stevia if preferred.

Mmmmm, now I want to eat more granola…you might have guessed that was my favourite part. Right, now to figure out what other recipes I can granolify!! Ideas welcome….
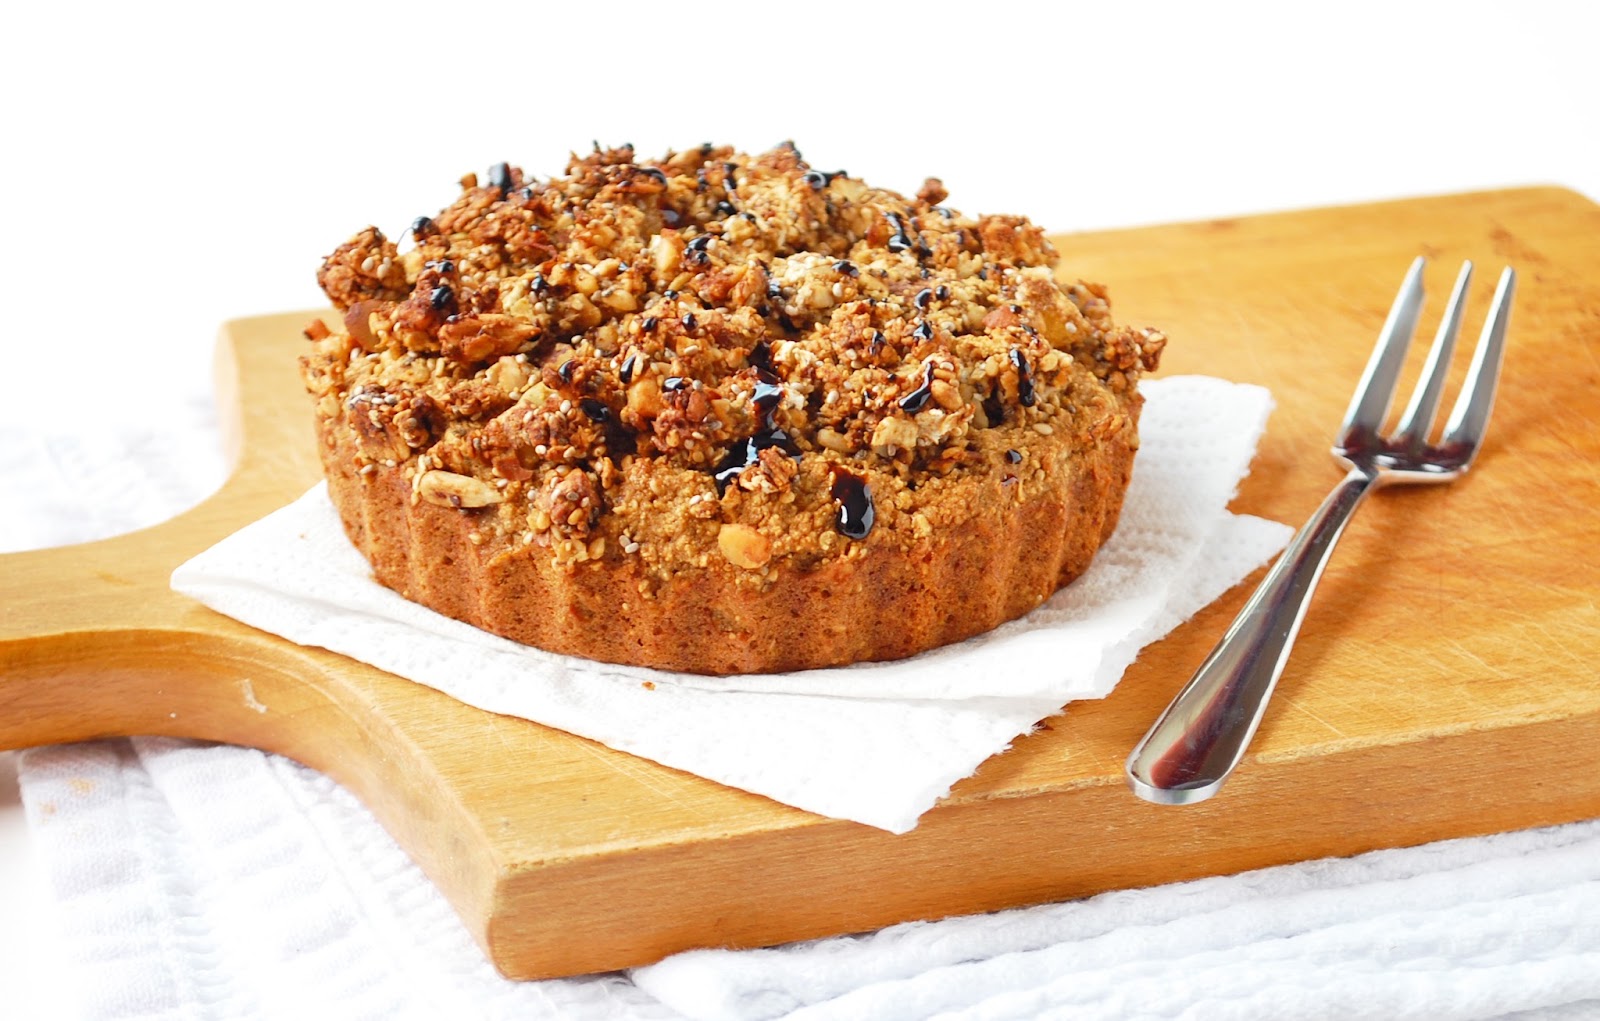

Recipe: Ginger granola bake

Serves 2-3

Ingredients:

1 banana- mashed
1 tsp molasses (more if you like a strong taste)
3 tbs agave ad 1/6tsp stevia
2 tsp olive oil
¼ cup soy milk
1 cup oats
3 tbs buckwheat flour (or other GF flour)
1 tsp baking powder
1 heaped tsp ground ginger
½ tsp mixed spice
2 tsp ground chia or flax
Topping- unbaked gingerbread granola and a drizzle of molasses once baked. See this recipe

Method

Mix the mashed banana with the wet ingredients in a small bowl. Mix the dry ingredients together in a larger bowl then add the wet mixture and mix through.

Spoon the mixture into a small oven dish (min was approx. 15cm diameter) and top generously with the raw granola mix pressing it into the mixture.

Bake for approx. 15 mins until the granola is golden. Drizzle with a little molasses if desired.

Allow to cool a little before slicing and serving.


What Vegan MOFO means to me.


For further guidance on making gluten free choices please see this post.

For tips and info on recipe measurement conversions, ingredients, substitutions and the methods behind how I do things.... check out my 'baking tips' tab at the top of the page.

Tuesday, 21 August 2012

Smoky BBQ sauce

Rich and smoky….

Reminiscent of hot summer cinders, a dwindling fire and a full belly….

Welcome the BBQ dip!


The perfect marinade, sauce or dip…it’s so rich and full flavoured that a little dab will go a long way.

As a bonus there is no cooking required…so no slaving away over the stove on a hot summer’s day.

This recipe is largely based on this recipe by Healthy Happy Life  as I was keen to have a go at making a deep rich but healthy bbq sauce and the recipe ticked all those boxes. I actually changed very little (other than the odd ingredient here and the overall quantities). This sauce was made specifically for a BBQ we had last weekend with my family, my brother was visiting from Southampton as an early celebration for my mum’s birthday and it was great to spend time together in the sunshine!

I’m not a big fan of ketchup (shock horror) although my homemade version was a million times better than the sweetly synthetic stuff bought in shops (oops..sorry Heinz), however I have always loved a bit of BBQ sauce and so a healthy homemade version has been on the cards for a while now.

Give it a go…it won’t disappoint! I used it as a baste over a batch of Mexican bean burgers (made especially for the occasion- recipe to come soon) and also as a marinade for the veggie skewers. Also pictured is my super speedy satay sauce which makes for another fabulous marinade. Both sauces were total winners with my family.

 
Recipe: BBQ dip

Makes approx. ½ cup

Ingredients

2 tbs apple cider vinegar
2 tbs molasses
1 tbs agave
1 tsp lemon juice
1 tsp chipotle smoky hot sauce (or similar)
1 tsp olive oil
Pinch dry mustard
1 tsp soy sauce*
3 tbs tomato puree
1-3 tbs water (depending on thickness desired)
1 tbs arrowroot powder
Salt and pepper to taste (I used approx. 1/6th tsp each)
¼ tsp paprika
¼ tsp cumin

Method

Mix everything together really well by hand or in a mini blender until, you have a smooth thick paste. Best made in advance and allow flavours to meld for an hour in the fridge before using for dipping/basting.

Add between 1 and 3 tablespoons of water depending on desired thickness. I used the thicker version for basting and would use a thinner version for dipping or drizzling.


* for further guidance on making gluten free choices please see this post.

For tips and info on recipe measurement conversions, ingredients, substitutions and the methods behind how I do things.... check out my 'baking tips' tab at the top of the page.

you may also like

Related Posts Plugin for WordPress, Blogger...