Showing posts with label pumpkin. Show all posts

Tuesday, 6 November 2012

Toffee pumpkin squares

These dense and rich toffee squares are a seasonal variation of this original sticky toffee pudding recipe. However this time with a few tweaks to include pumpkin instead of sweet potato, and instead of serving these warm with a pouring sauce, I would serve these cold simply with their sticky topping….this is a ‘messy fingers’ situation!  Of course you could also serve these squares warm if you preferred.


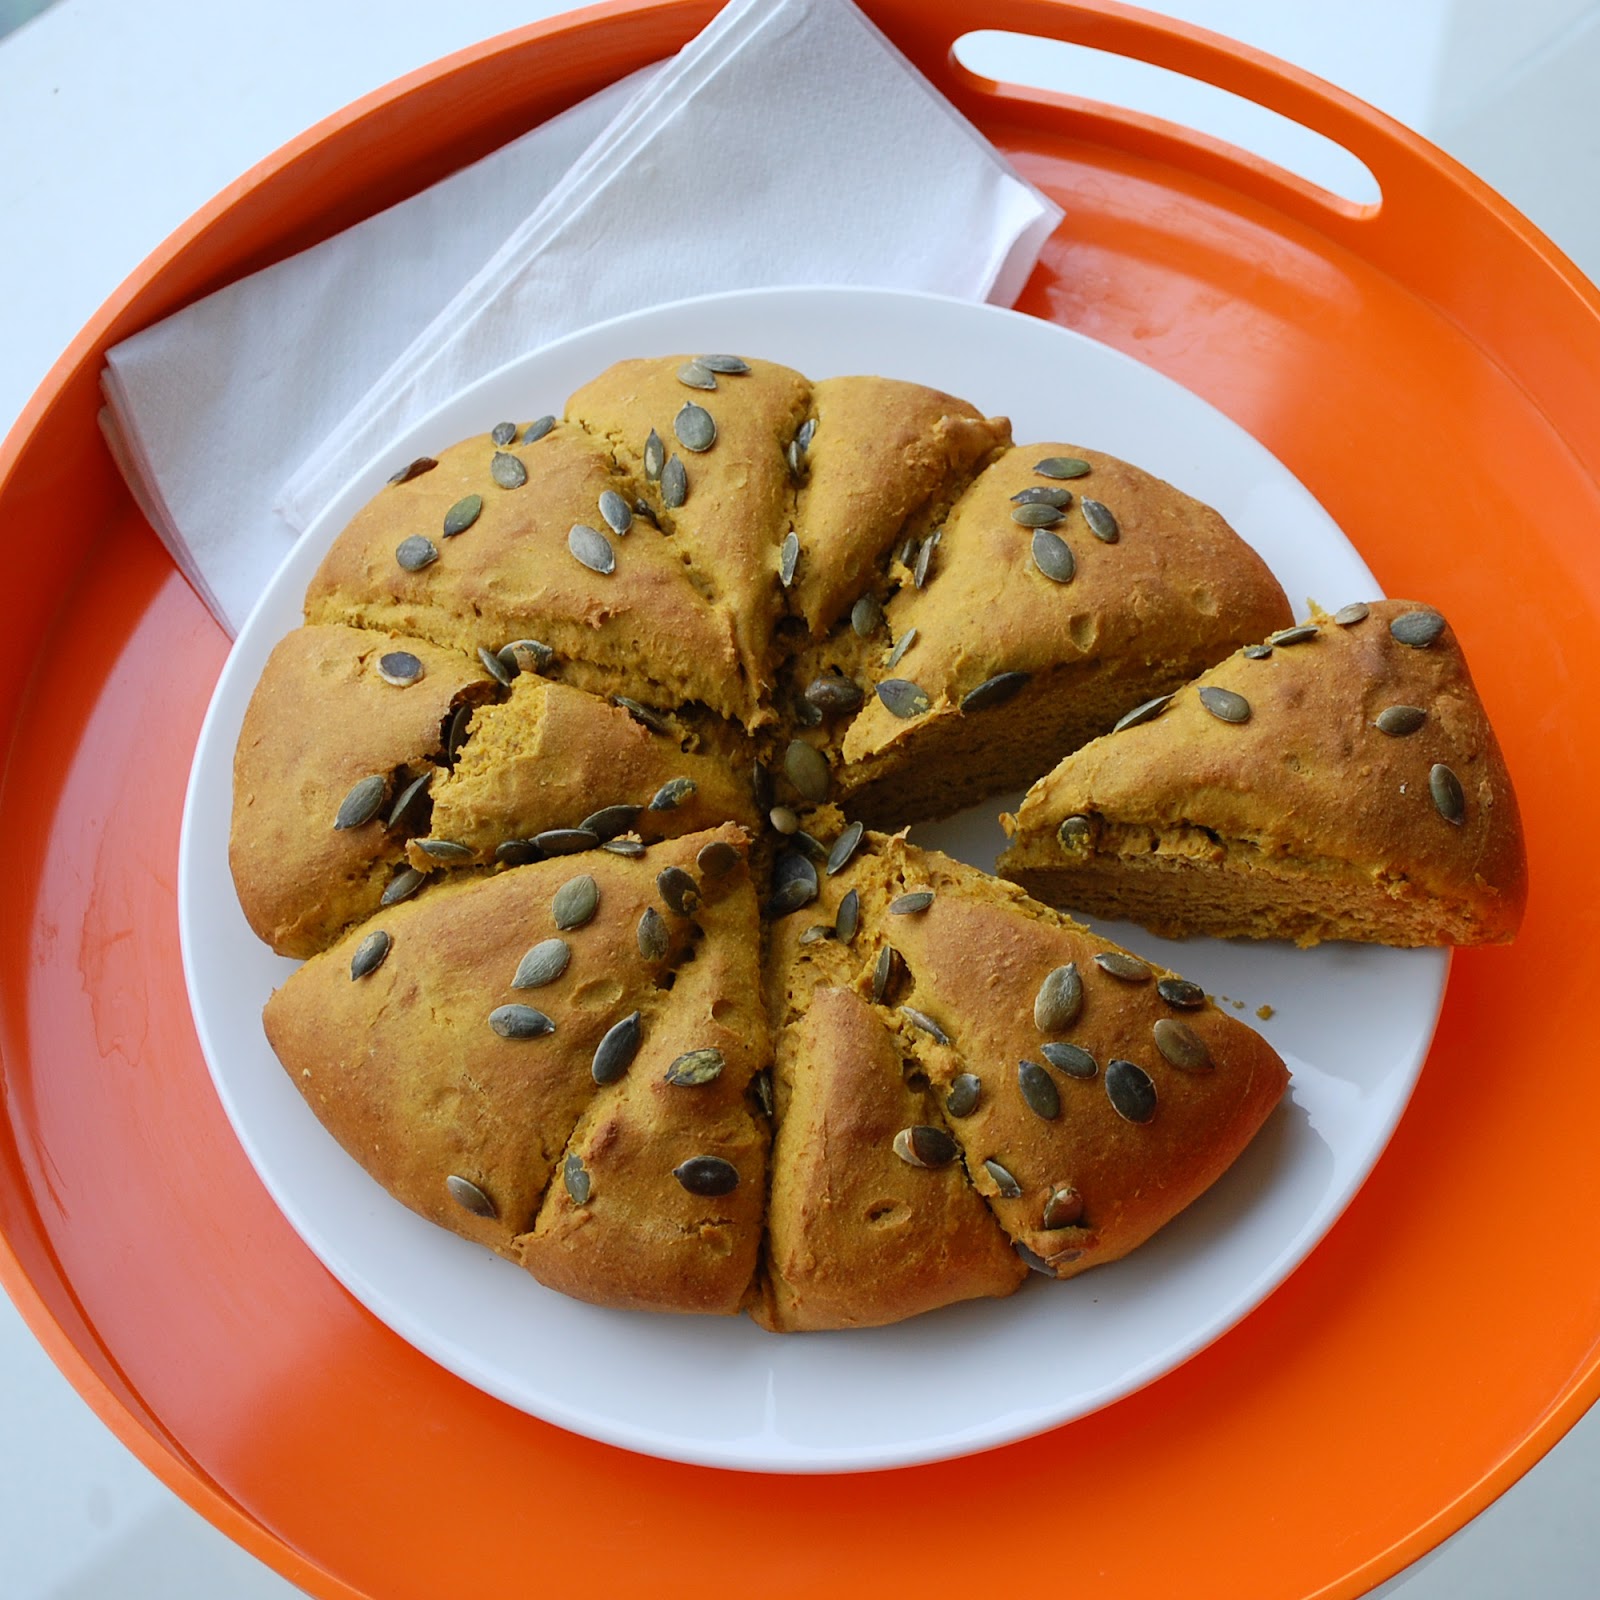
In my original recipe I used spelt flour, but here I used my typical GF flour combo, you’d never know the difference. I’d encourage you to try with your own favourite flour mix since the relative ratio of flour is not particularly high so you should be able to substitute other ‘flours’ without compromising the taste or texture. If you want a more cakey texture increase the baking soda, and likewise if you want a really dense crumb you could omit the baking soda altogether.

I made these squares for a friend to take to a work event a week or so ago, gluten free was a specific requirement. I made 36 little cakes in all including these almond raspberry chocolate torte slices (as seen in the photo) and also these double banana blondies (still in the oven at the time the photo was taken!)….all the choices were at the request of my friend (good choices!)  I was up late into the night trying to get them finished for him to take to work the following morning, but it was all worth it when such a positive report rolled in the next day!


Recipe: Toffee pumpkin squares

Makes 16 small squares

Ingredients

1 cup cooked pureed sweet pumpkin
¼ cup soy yoghurt
1/3 cup coconut butter- melted
1/3 cup dates- softened
½ cup mashed/pureed chickpeas
3 tbs brown rice syrup (or maple syrup) plus ¼ tsp stevia
2 tsp vanilla extract
1 tsp cinnamon
1 cup spelt or GF flour (I used 1/3 cup each of almond meal, buckwheat flour, tapioca flour)
2 tbs cacao powder (or cocoa powder)
½ tsp baking powder
¼ tsp baking soda
A pinch salt

For sticky toffee top:

¼ cup softened blended dates
3 tbs brown rice syrup

Method

Blend the wet ingredients in food processor until very smooth. Pour into a bowl, add dry ingredients and mix together until well mixed. Spoon mixture into a parchment lined 8x8 baking tin and smooth the top. Bake in oven at 180C for approx. 8 minutes.

Whilst the cake is in the oven blitz the dates to form a paste and add the syrup.
Remove the pudding from the oven after 8 minutes and use a toothpick to make holes all over the top of the cake- approx. 100 holes. Spoon the toffee sauce over the top and smooth over allowing it to seep into the holes (much of the sauce will remain on top as a sticky layer).

Return to the oven for a final 5 minutes cooking time. Once cooked, allow to cool before slicing into squares.


For further guidance on making gluten free choices please see this post.
For tips and info on recipe measurement conversions, ingredients, substitutions and the methods behind how I do things.... check out my 'baking tips' tab at the top of the page.

Friday, 2 November 2012

Pumpkin granola muffins


I have made a lot of pumpkin puree this last couple of weeks. I blended it up and froze it in muffin cup portion sizes…so many of my baking experiments have been making use of it.

This recipe is no exception and it is a double whammy as you have a pumpkin granola topping too! Of course the granola is optional- you could simply top with nuts and spice instead, but since at the time I was making a batch of this granola I figured it would be a good opportunity to set aside a little for the muffin tops.

mini muffins using a buckwheat flour mix

I’ve made these muffins using both flour combinations- spelt and my GF mix. I think between them I preferred the spelt, I enjoyed the buckwheat but found the flavour slightly dominant over the pumpkin, you may find it preferable to use oat flour or brown rice flour in its place.

For the granola topping, take pinches of raw granola mix and press firmly into the top of the uncooked muffin. Pre-baked granola will burn.  I also used mini muffin tins on my second attempt as the first try using full sized muffin cups lead to the granola burning at the edges before the muffins had cooked through.  If you are opting for a topping I would definitely advise you not to use larger than cupcake tins.

larger spelt muffins- great texture but burnt tops

These make the perfect winter warming snack served warm with a little vegan yoghurt and a drizzle of maple syrup….so good!


Recipe: Pumpkin granola muffins

Approx. 8 mini muffins

Ingredients

1 cup GF flour mix (I used ½ buckwheat, ¼ tapioca, ¼ ground almonds) or WM spelt
¼ cup coconut sugar/rapadura and 1/6th tsp stevia
pinch salt
1 ½ tsp baking powder
2 tsp ground chia
1 tsp cinnamon
2 tbs coconut oil- melted
2/3 cup pumpkin puree
1 tsp vanilla
2 tbs agave syrup
¼ cup apple or orange juice
Topping: 1/3 cup pumpkin granola for topping- optional

Method

Mix all dry ingredients together in a medium bowl and then add wet ingredients. Mix together lightly but well.

Spoon the batter into 8 mini muffins pans and press the uncooked granola mix into the top of the batter in each case.

Bake at 180C for approx. 12 mins until cooked through when tested with a toothpick.

Serve warm with a drizzle of maple syrup if you want to be full on indulgent!

NOTE: you can make regular sized muffins but I found that the topping began to burn a little before the muffins were fully cooked.


For further guidance on making gluten free choices please see this post.
For tips and info on recipe measurement conversions, ingredients, substitutions and the methods behind how I do things.... check out my 'baking tips' tab at the top of the page.

Wednesday, 31 October 2012

DAY THIRTY ONE: Halloweeeeeen

It's Halloween!  Also the last day of Vegan Mofo….alas I don’t have any oaty goodnesss to share…my Halloween inspired treats were simply not of the oaty variety today.  I do think I’ve done pretty well this month with so many oaty concoctions! It's been a fun challenge.

So, back to Halloween, how have you been celebrating?....fancy food, fancy dress, trick-or-treating, bonfires (ok that last one is not till next week!)

This year I haven't been to any parties, and I don't generally get many visits from 'trick-or-treaters' but I have made food...of the pumpkin inspired variety!


We had a Halloween lunch at work, well it was more of a team lunch that happened to fall on Halloween so I decided to get into the holiday spirit a little. Pumpkin risotto and another spin off of these Halloween Graveyard cakes...this time a pumpkin muffin with a gingerbread cookie! Lots of fun to makes two cakes in one.

I will admit the gingerbread ended up being a little puffier than I would have liked- note to self: use less baking powder! The risotto had a great flavour but I think the texture needed a little more work before I can share it with you.


I also made a soy-free cheezy stuffed crust pizza... this is a new super-food chia crust with a cheesy (soy-free) stuffed crust edge...but i'm a tease and you'll have to wait a little longer for the stuffed recipe as I feel it still it needs a few more tweaks and trials before its ready to share! I’ll be sharing the regular chia crust with you very soon.


All in all it went down well, me being a perfectionist felt it could have been that little bit better (although I was in a mega rush last night to get it all cooked!), but I know I will always be my own worst critic!! I had lots of positive pizza comments with a lot of love for the substantial and filling chia crust.

In other news, this was another little experiment a week or so ago at around the same time as the Graveyard Cakes... I think he looks so cute!

(Hint: you can make these monsters using these smoosh bars to form a head, arms and legs, then fix to an orange with toothpicks and add some sunflower seeds for the face!)


What Vegan MOFO means to me.

For further guidance on making gluten free choices please see this post.
For tips and info on recipe measurement conversions, ingredients, substitutions and the methods behind how I do things.... check out my 'baking tips' tab at the top of the page.

Friday, 26 October 2012

DAY TWENTY SIX: Pumpkin granola

whoop whoop granola time.  Oh the excitement…! (time for a few explanation marks too, I just can’t help myself!!)


I had lots of pumpkin puree left after blending up this soup ‘bowl’ and I’ve been having fun using it up.  I froze it in silicone cupcake  trays and then popped them out once frozen for easy storage (and to save on using lots of freezer bags).

My go to granola recipe is usually this gingerbread granola or the fruity nutty variety, but you know what, I think I quite the autumnal spices going on here!  I baked the dried cranberries in with the mixture, which is ok but they do have a tendency to get a little burnt before the granola has crisped up since I like chunky granola clusters so it takes that bit longer to cook. You’d be fine if you went for a less chunky granola, otherwise maybe add them in afterwards.  There is not oil in this recipe which makes for a lovely chewy granola, feel free to add a couple of tablespoons of melted coconut oil if you fancy a little more bite.

My favourite way to serve this granola was as a breakfast bowl with soy yoghurt and fresh pear chunks. Sprinkle a little extra cinnamon or ginger over the top and you are good to go!


Recipe: pumpkin granola

Makes one large bowlful

Ingredients

½ cup pumpkin puree
1 tsp vanilla extract
3 tbs maple syrup and 1/6th tsp stevia
1 ½ cup oats
½ cup pumpkin seeds
4 tbs flax or ground chia
¼ cup walnut pieces
¼ cups dates or dried cranberries –chopped
2 tsp cinnamon
½ tsp mixed spice
¼ tsp salt

Method:

Mix the pumpkin puree, vanilla, maple syrup and stevia together in a small bowl. Mix the remaining ingredients together in a large bowl and then add the wet mixing until everything is well coated. Spoon onto 2 lightly greased baking sheets making sure a thin even layer with some clumpy bits if preferred. Bake at 170C for 10-15 minutes until slightly golden. Allow to cool fully before storage. Stores in cupboard for a few weeks.


What Vegan MOFO means to me.


For further guidance on making gluten free choices please see this post.
For tips and info on recipe measurement conversions, ingredients, substitutions and the methods behind how I do things.... check out my 'baking tips' tab at the top of the page.

Saturday, 20 October 2012

DAY TWENTY: 'Surprise me Saturday' pumpkin cider soup

Breaking away from my Vegan MoFo 'Oatober' for another surprise recipe!

This year I was determined to get in on the act…full throttle pumpkin recipes!  Starting with this soup…


I give full credit to Able and Cole for this recipe as it was they who tempted me to give it a try and enter it in their photography competition. I had to make a little vegan adjustment and modify the proportions of ingredients a bit as the pumpkin I bought must have been a lot smaller than intended by their recipe and so therefore the remaining ingredients needed reducing to match. Either way it was a simple, subtle, silky smooth and delicious soup; the perfect start for my winter soup quest.

One thing I really loved about this recipe was that it cooked in its own ‘bowl’,  mad a great centrepiece to serve at the table. I made sure nothing went to waste and once the bowl was empty of soup and had cooled, I peeled away the skin and pureed the flesh to freeze for future baking experiments.

As a ‘winter soup quest’ I've decided that I’m going to trial a lot of soups over the next few months and to go along wide these experiments I also want to have a go at making lots of different types of ‘breads’, I use that in the loosest possible sense to mean ‘something I can dip in a soup’. Most of my experiments in the bread department will also be gluten free so it will be an interesting challenge since its one area I have yet to gain much experience. My trusty simple flatbread is still my everyday go-to recipe and I need to break out of my bubble!


Recipe: pumpkin soup

Serves 2

Ingredients

Small/medium pumpkin (approx. 1kg weight)
1 tsp coconut oil/olive oil
1 onion, finely chopped
200ml cider (I used pear and ginger cider)
Approx. 200ml hot vegetable stock
Pinch vanilla powder/paste
¼ tsp chilli powder
¼ tsp ground cinnamon
a swirl of vegan yoghurt or cream to serve (optional)

Method

Chop the top off the pumpkin. Remove the seeds. Carve/scoop out as much of the flesh as possible using a strong spoon and knife, I had around 3 packed cups full. Finely chop the flesh. Set aside. Preheat oven to 200C.

Place a lidded pan over medium heat. Add oil and when its hot add onion and a pinch of salt. Cook slowly for approx. 5 minutes until the onions are soft. Fold in the pumpkin. Cover. Let the pumpkin sweat down on low heat until it’s mushy approx. 20 minutes.

Remove lid. Stir in vanilla, cinnamon and chilli. Cook for a moment. Slowly stir in the cider. Add enough stock to get soup to ‘thick cream’ consistency.

Puree the mixture. Pour the soup into the scooped out pumpkin. Bake the pumpkin for approx. 30 mins, until the pumpkin is just tender and soup is bubbly.

Add more stock if the soup is too thick (mine was fine). Serve into bowls with Gluten free flatbread.

Note: the skin on the pumpkin should be pulling away from the flesh and can be ‘peeled’ very easily. The flesh from the pumpkin bowl can be pureed and frozen for future cooking/baking experiments!


What Vegan MOFO means to me.


For further guidance on making gluten free choices please see this post.

For tips and info on recipe measurement conversions, ingredients, substitutions and the methods behind how I do things.... check out my 'baking tips' tab at the top of the page.

Tuesday, 25 September 2012

Ginger pumpkin no-bake bars


A follow up from this post…I felt the ginger version deserved its very own write up..

The warming ginger and carob kick is the perfect flavour for when summer is not quite out, yet autumn is sneaking up on you from behind!


These were a treat made for my sister as a special request to take with her to the music festival she was going to a couple of weeks ago. Easy, healthy, portable snacks were the deal of the day.

Knowing how much she liked the regular gingerbread smoosh bars, I thought I’d indulge my new found love of seedy things and make a nut fee version, whilst also going a little more crazy by adding a carob dusting to the top. The great thing about the added carob is that it should help the bars stick together a little less when packaged together for her trip (alternatively just lay each bar between a layer of parchment). The carob also gives an almost 'velvety' appearance to the top which I really loved.

I am happy to report these bars were given the seal of approval!


Recipe: Ginger pumpkin no-bake bars

Approx. 10 bars

Ingredients

100g dates
80g mix of seeds (I used mainly pumpkin seeds with a few sunflower seeds)
50g raisins
30g ground oats*
30g buckwheat flour
1tbs sliced fresh ginger (optional)
1tbs ground ginger
½ tsp mixed spice
½ tsp cinnamon
Approx. 1 tsp carob for dusting

Method

Mix all ingredients in a food processor until you have a firm and fairly fine sticky mixture.

I formed bars by pressing the mixture into the bottom of a small loaf tin lined with parchment for easy removal. Sprinkle carob flour evenly across the top and gently rub with fingers to settle the powder.

Allow to chill for an hour before slicing into bars.


Monday, 31 October 2011

Pumpkin scones

I keep my promises…

…and as promised here is my pumpkin scone recipe to share with you all. It's late at night and my bed is calling but I was determined to post this recipe on Halloween itself- and I made it with 5 minutes to spare!

I took the entire batch of scones to work today to share with my colleagues as an afternoon snack. Everyone had a taste and there were many ‘noises’ of approval around the room. Maybe they were just being nice… well, why not find out for yourself!  Actually I’ll save you the guess work- they were very yummy indeed! Warming and delicately spicy just the way you would imagine a thick cut wedge of moist ochre coloured tea bread.

If autumn were a food she would definitely be a pumpkin scone!

We ate the scones warmed from the oven split open and spread with butter and drizzled with a little syrup (well, they did and I had a dollop of soy yoghurt). They are perfectly moist and moreish all on their on but a topping always finishes it off nicely- nut butter could also work well!

I have to admit I feel as though I somewhat cheated a little. I had planned on buying a pumpkin and preparing the puree from scratch, but all the ones I saw in the shops were huge pumpkins ready to be carved. Then I remembered I had a bottle of pure organic pumpkin puree already tucked away in my baking box. Teamed up with some pumpkin seeds sprinkled across the top and you have your perfect recipe for all year round. I imagine the pumpkin could just as easily be substituted for squash or even sweet potato!


Recipe: pumpkin scones

Makes approx. 12 wedges

Ingredients

1/3 cup rapadura plus ¼ tsp stevia
3 ½ cups mix of white and wholemeal spelt flour
2 tsp baking powder
½ tsp baking soda
3 tsp ground ginger
1 tsp cinnamon
Pinch of salt
½ cup coconut butter
2 cups pureed pumpkin
Handful of pumpkin seeds

Method

In a large mixing bowl, combine dry ingredients. Mix through partially melted coconut butter to achieve a crumb consistency to the mixture. Add pureed pumpkin and combine well until a dough is formed. On a lightly floured surface, knead the dough a few times, pushing it into a large circle a (generous) inch thick. Sprinkle the top with pumpkin seeds and press lightly into surface. Place dough onto a parchment lined baking sheet and score the dough into 12 (or 8 larger) triangular pieces. It is easiest to do this once the dough is on the baking sheets ready to go straight into the oven as it may be hard to transfer to the baking sheet once cut. Don’t worry if the dough is sticky and difficult to cut all the way through, the segments should just serves as a guide and can be cut fully once cooked. Bake at 200C degrees for approx. 15 minutes until golden. Allow to cool slightly before slicing and serving.


Saturday, 29 October 2011

My crazy pumpkin 'babies'

It hasn’t bypassed my attention that Halloween is just around the corner!

Blog-land has been full of pumpkin recipes to make your mouth water for weeks, but I have yet to join in the fun.  Don’t worry I have been keenly following all the developments and will be making my own pumpkin scones to share with my work colleagues on Halloween itself. I know this won’t be in time for you to have a go at making them in time for Halloween, but with all the ‘scary’ cake ideas already out there to choose from I figured this wouldn’t necessarily be a bad thing. Pumpkin and squash will be in season for a while now so plenty of time to make these scones in the weeks to come. Plus what I have put together for you below will surely raise a little smile and make up for the lack……?

In previous years I have taken part in a pumpkin carving competition with work colleagues. It’s just a bit of fun amongst the team but it probably goes without saying that I do have a tendency to get just a little competitive!

A traditional carving- oh no, not for me!  But this is actually pretty simple and easily customisable- one pumpkin, a bag of satsumas and some embellishments and you're already halfway there!

Enjoy! 


(p.s what crazy pumpkin creations have you made for Halloween?)

you may also like

Related Posts Plugin for WordPress, Blogger...