Showing posts with label no bake. Show all posts

Tuesday, 7 May 2013

Fruit and nut slice...no bake!

It’s all about the ‘smoosh bars’ at the moment! With all the recent recipe testing I have an abundance of dried fruits and nuts.


Also my dad recently went all the way and purchased a Thermomix after seeing how much I use mine for everything from nut flours and butters to soup. Though his is an old style one he bought second hand, I wanted to put it through it’s paces to see how it fared against mine….a little blitzing of some fruit and nuts was the perfect test.

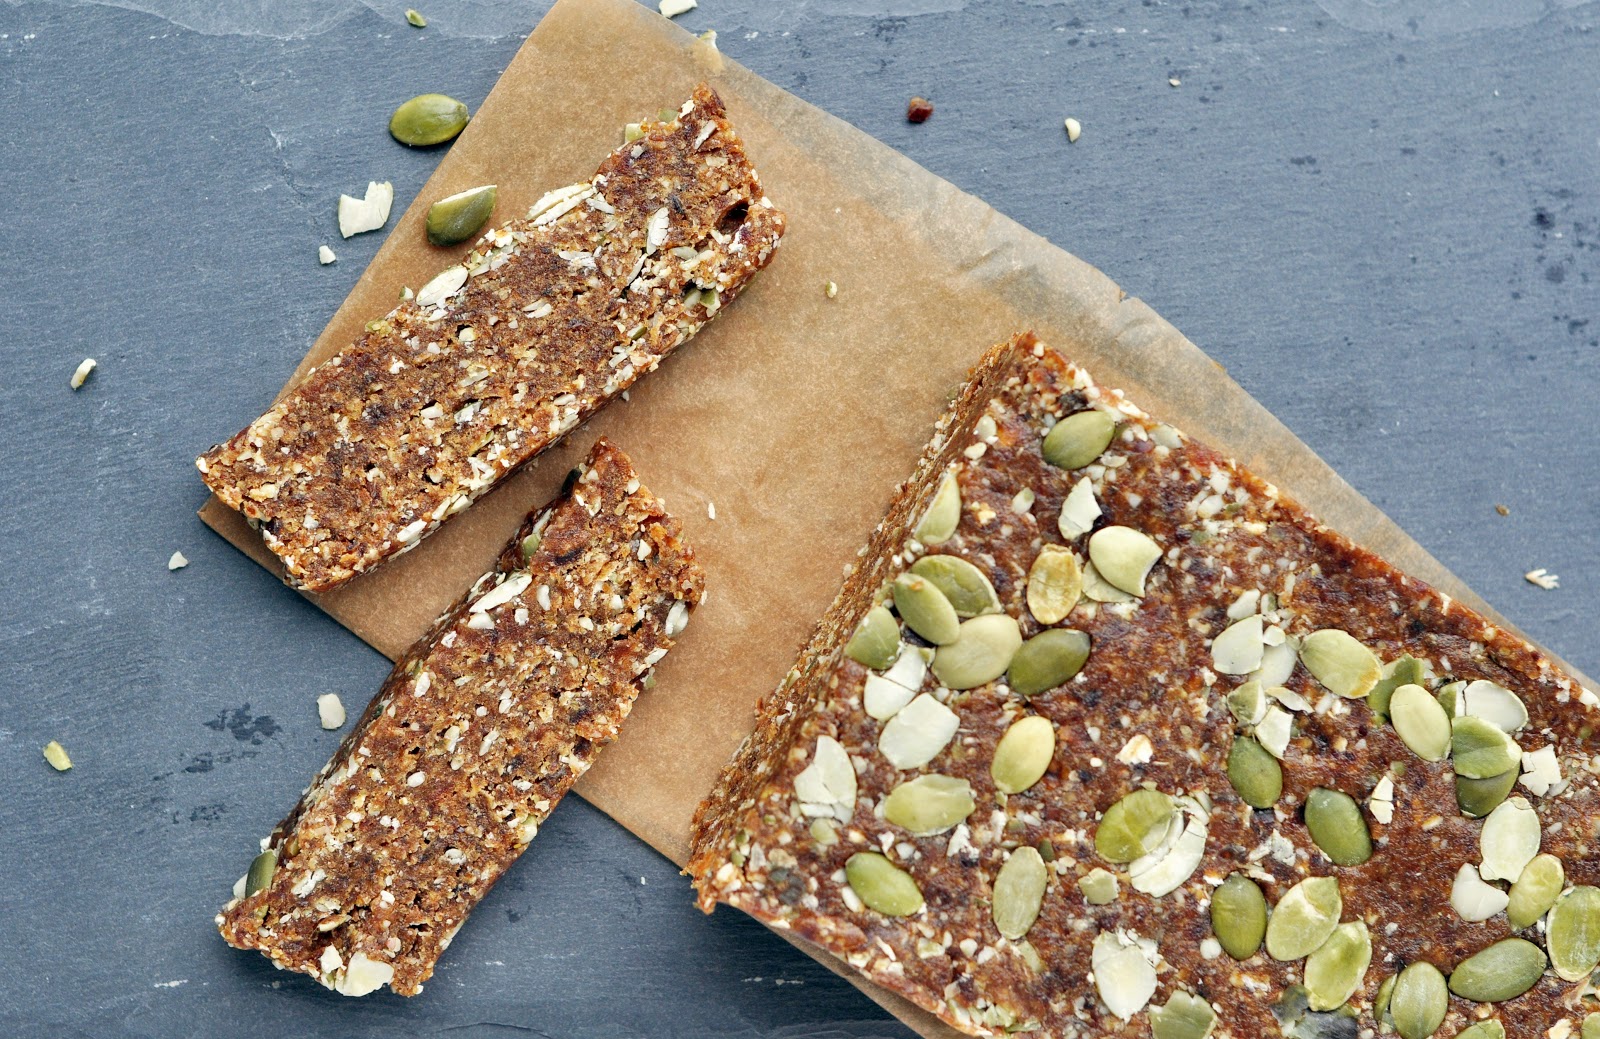
Instead of forming the mix into balls or bars, I figured I would keep it as a loaf stored in the fridge, so that he could simply slice off a slither when the desire struck. The flavours and textures work beautifully and give this loaf a really authentic 'fruit and nut' loaf feel. Keep the seeds and nuts fairly chunky whilst maintaining a fairly sticky mix, you can also press a few extra into the top.  Add a few more oats or dates as needed to get the right consistency to form a loaf.

Obviously it’s a lot denser than your regular cakey loaf so a little goes a long way. It’s very moreish so I will warn you now… you may well find yourself slicing of a little slither and then a little more! If you’d prefer individual balls or bars then go right ahead, the choice is yours.


Recipe: No-bake fruit and nut slice

Makes a shallow 20x10cm loaf

Ingredients:

300g dates (or sub some raisins)
70g oats
70g cashews (or other nuts or mixture of choice)
20g flax
70g pumpkin seeds
1 tsp ground mixed spice
1 tsp ground cinnamon


Method:

Process the cashews, oats , flax seed and spices until just coarse (not to fine). Remove from processor.

Process the dates  to form a paste, this can still containas few chunky bits if necessary.

Add all ingredients and pulse to mix through well whilst keeling a chunky consistency.

The mixture should be sticky but manageable- add a tsp or so of water if too dry and extra oatmeal if too sticky.

Spoon the mixture into a lined loaf pan (or similar sized tin) and press down (I use the back of a rolling on) until well packed. Chill in the free before slicing to serve.

Check out my other no bake treats here!


For further guidance on making gluten free choices please see this post.

For tips and info on recipe measurement conversions, ingredients, substitutions and the methods behind how I do things.... check out my 'baking tips' tab at the top of the page.

Friday, 3 May 2013

Cookies and cream parfait


It seems you loved the carrot cookies! Well to be honest I don’t blame you… to honour their gloriousness I gave them a simple twist that turns a cookie into the basis for a simple no-bake bressert 


You could use any fairly thick cookie here, they can either be soft or a little it crisp but you’ll want to be able to break them into chunks. I reckon the chocolate quinoa cookies, chocolate pillowcakes (these are fat free) or coconut oatmeal cookies would work really well. Or even any of my breakfast cookies!

The cookie forms the base of the parfait and then gets layered up between soft whippy coconut cream…you can infuse this with lemon, orange, cocoa or other flavours to compliment the cookie base, and fresh fruit for extra healthy zing. You can also add a sprinkle topping or cookie crumbs if you wish. Depending on the shape of your bowl you can layer u as many times as you wish. Mine was wide and shallow so I just used cookie chunks at the base.

This would make a refreshing light summer treat (ok so I am getting a bit ahead of myself!) and reminds me bit of trifle (without the jelly layer of course) oh how I miss trifle!


Recipe: Cookie parfait  

Serves 4 (based on original carrot cookie recipe amount)

Ingredients:

10 carrot cookies (or other cookie of choosing)
approx. 1 ½ cups fairly thick coconut cream plus mix ins if required.
approx. 1 ½ cup fruit
toppings of choice or extra cookie crumbs

Method:

Prepare the coconut cream and set this aside

Break up the cookies into small chunks and place the equivalent of 2 small cookies at the bottom of
a dessert dish (or split into two layers if preferred).

Add a dollop of coconut cream to each dish and then layer fresh fruit on top (repeat these layers depending in shape of dish- i.e wine glass?) Finish with some crumbs of the remaining cookies or other sprinkles of choice.


For further guidance on making gluten free choices please see this post.

For tips and info on recipe measurement conversions, ingredients, substitutions and the methods behind how I do things.... check out my 'baking tips' tab at the top of the page.

Tuesday, 23 April 2013

Choc chip chunks- no bake!

This recipe originally formed the basis for one of the Wholeplus Energy range, but then my flavours changed tack and this got nudged out. They are delicious though so they couldn’t be sidelined without a big shout out on here!


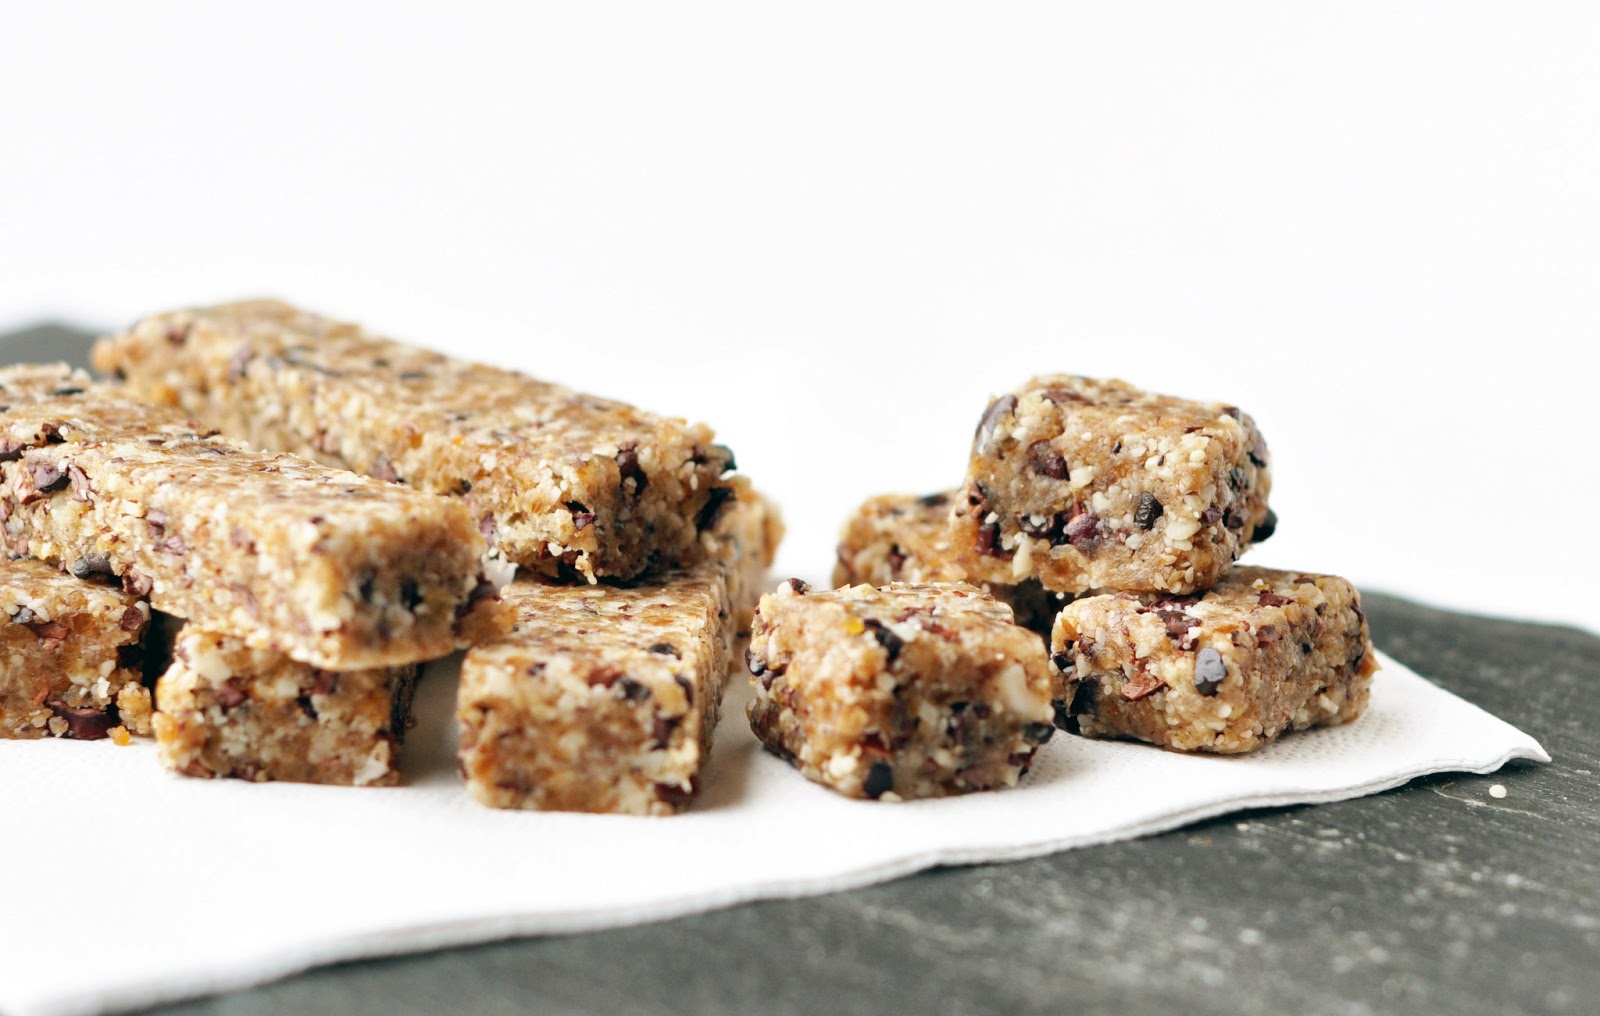
So simply- just three key ingredients. I use cocoa nibs which are amazing in these bars, they give a harder crunch and a bitter chocolate taste, but of course if your prefer to swap in dark chocolate chips then feel free to do so.

I used a little vanilla bean powder in this recipe, I sometimes find that liquid extracts made with an alcohol base have a slightly bitter aftertaste in no bake treats- use the oil based versions if you can. Some people also find that a touch of  almond extract gives more of a cookie like flavour.  Don’t skip the salt as it really makes the flavour come together and pop!

For more no bake treats and bars, you’ll find them here.


Recipe: Choc chip chunks

Ingredients:

50g cashews or almond (use blanched for a lighter colour)
100g dates ( I use deglet noor)
20g cacoa nibs
Up to 10g ground oatmeal (only if mixture is too sticky)
1/2 tsp vanilla extract or 1/4 tsp vanilla bean powder (or almond extract if referred)
Pinch sea salt
1 tbs maca powder (optional-gives a slightly ‘malty’ flavour)

Method:

Coarsely process the nuts and set aside.

Blend the dates until they form a paste. Add all the remaining ingredients and pulse to fully combine whilst keeping coarse chunks. The mixture should be slightly sticky.

Form bars by pressing the mixture into the bottom of a lined mini loaf pan, and allowing to chill to firm up before slicing. I then chopped the bars into cubes.


For further guidance on making gluten free choices please see this post.

For tips and info on recipe measurement conversions, ingredients, substitutions and the methods behind how I do things.... check out my 'baking tips' tab at the top of the page.

Saturday, 2 February 2013

Apricot and ginger flapjack...no bake

Ok, so I have a super healthy, super speedy, sweet treat recipe for you....what’s new?

We actually a lot is new!


A few milestones have been passed these last few days....I’ve been keeping things quietly under wraps to a large extent but I think now comes the time to share a little more with you. It’s all still an ongoing work in progress, but that’s life at it’s best don’t you think?

I shared a few changes and achievements so far this year in yesterday's monthly roundup; namely the fact I have just completed my Certificate in Plant Based Nutrition...exciting times! Also the fact that I have teamed up with The Real Food Source (who I have previously written recipe posts for) and we are looking to launch a range of products via their newly revamped website (work still in progress).

But in other news, two other important milestones (they are a big deal to me anyway). My facebook page reached 400 ‘likes’ last week. I know that may sound pitiful to some and pails in comparison with some of the big bloggers out their who’s work I admire and respect so much, but to me that means a lot and I am very thankful...I will keep on pushing forward, onwards and upwards! 

Secondly this post marks my 400th post on this blog! Wow, I can barely believe i’ve kept things going this far and actually had 400 things to write about...with more and more ideas constantly cropping up in my mind! I remember when I sat down to write my first post, I didn’t have much idea how things would pan out, but I do distinctly remember writing down a list of about 20 recipes before running out of ideas, but thinking to myself ‘well that will keep me going for a few months at least’. 

Anyway, that’s just a little taster of what I’ve been up to....I will update you on everything in greater depth very soon.

If you’re still reading at this point...I applaud you!  Any thoughts or questions let me know as I‘m open to all ideas as this point in my development. After all this blog is as much for you as much as it is for me!

So, on to the recipe itself! Sugar free, fat free, no bake, simple, sweet...what more could you ask for? Instead of using dates- my usual go to natural sweetener. I opted for apricots and a little ginger for a warming kick. Make sure you use organic apricots, these are browner in colour as they are not processed with sulphur dioxide which is used to help the regular dried fruits retain their colour.


Apricot and ginger flapjack
 
Makes approx 8-10 slices

Ingredients

½ cup dried apricots
2 tbs ground flax
¼ cup whole almonds
Pinch of pure stevia (approx 1/6th tsp)
1 tbs heaped fresh grated ginger (use more or less to taste)
½ cup oats

Method

Place the apricots in a food processor and blitz for a few seconds until you have a sticky paste. Add the flax, stevia, ginger and almonds and pulse to mixture until the almonds are broken up into coarse chunks. Add the oats last and pulse gently to mix through without breaking them up too much.

The mixture should be firm but sticky, add a few extra oats if necessary.

Press the mixture into the bottom of a small lined tin and chill for an hour or so before slicing into squares.


For further guidance on making gluten free choices please see this post.

For tips and info on recipe measurement conversions, ingredients, substitutions and the methods behind how I do things.... check out my 'baking tips' tab at the top of the page.

Tuesday, 11 December 2012

No bake Christmas candy collection


Well I actually call these ‘smoosh bars’…if you’ve been following for a while you’ll have probably already figured that out since they pop up quite a lot (read: I am a little obsessed!)’ Smoosh Bars’ was a name that my family began to call them since when asked what they were I simply said ‘its just lots of healthy ingredients all smooshed together.’  It stuck!


I figured smoosh bars  was maybe an odd title for the post…probably less likely to entice people over, and then they’d be missing out on all the fun…(these bars are a lot of fun). So no- bake Christmas candy collection it is since today I am sharing with you my entire collection so far, but the variations are almost limitless, I’d love for you to share your own favourite flavour combos since I know many of you make this sort of thing yourself too!

Below you’ll find the links to previous smoosh posts, note that most of these bars contain nuts. In more recent weeks I have been running low on my cashew and almond supplies and have had a surplus of sunflower seeds, so to readdress this balance I made all the flavours linked below with sunflower seeds in place of the nuts to see how they worked out. The result was almost identical. If I absolutely had to choose I’d maybe say the nut version slightly won over the seed, but there is very little in it, so here we have the perfect most versatile bar collection perfect for school lunches and nut allergy sufferers… and in actual fact perfect for pretty much everyone!

Take your pick and go play!

Oh and last but not least…do you remember these mini Christmas puds?…they were my favourite thing last year!

I still love these mini puds...the clove in the top infused the flavour and makes them taste so authentic!

Now, here I have two new recipes to excite you:

Recipe: Marzipan almond smoosh

Makes approx. 10 bars

Ingredients:

70g dates
70g raisins
100g almonds (or sunflower seeds) I did use almonds to make it more aurthentic
50g buckwheat flour (or oatmeal)
30g dessicated coconut
30g dried cranberries
1tsp almond extract*

Topping (optional): 50g cashews or blanched almonds, few drops almond extract and 2 tbs agave syrup. Extra flaked almonds to decorate.

Recipe: Chocolate peppermint smoosh

Ingredients:

70g dates
70g raisins
100g sunflower seeds (or mild flavoured nuts)
40g buckwheat flour (or oatmeal)
30g dessicated coconut
20g cocoa powder
1tsp peppermint extract*

Topping (optional): 50g cashews or blanched almonds, few drops peppermint extract and 2 tbs agave syrup. If desired you could decorate with mini choc drops as a nice contrast.


Method (for both):

Blitz the nuts/seeds in a food processor for a few seconds until they are coarse. Add all remaining ingredients and blitz until you have a fine sticky ‘dough’.

Press the dough into a square container or smallish loaf tin lined with parchment (tin should be approx. 10x15cm) and pack down firmly, I use the flat end of a rolling pin to do this.

To make the top layer, blitz cashews or blanched almonds (make sure there is no skin as it will discolour the result) until they begin to get sticky, add a little agave and flavouring to taste and process a little longer.

Press a thin layer of nut mixture over the bottom layer and decorate with flaked almonds if desired.

 Chill for a couple of hours until firm enough to slice neatly.

Note: you could form into balls instead of making slices.

*use oil based and not alcohol based extracts if possible since the alcohol based versions have a slightly bitter taste due to the alcohol not being ‘burnt off’ as the bars are not baked.


 chocolate peppermint bar
almond marzipan bar
roasted peanut and cranberry bar

For further guidance on making gluten free choices please see  this post.

For tips and info on recipe measurement conversions, ingredients, substitutions and the methods behind how I do things.... check out my 'baking tips' tab at the top of the page.
Thursday, 16 August 2012

Fudge topped gingerbread squares

Question: What do you get if you combine this…. 

 
... with this...?

 
Insanely delicious slices of gingerbread fudge of course!!

Chill them in the fridge for a firm nutty bottom layer and a soft and fudgy top layer to sink your teeth into…perfect for serving in pretty little squares.  

These fudge slice isn't really anything new as I simply combined and layered up two of my favourite recipes, but I think it sheds a whole new light on healthy sweets! So pretty and delicate and perfect for sharing as a tea time treat or to wrap in cellophane and ribbons and give as a gift.  

Think of all the flavour combos...you could have a peanut base with a strawberry frosting, chocolate base with a mint or banana fudge frosting, almond base with a marzipan frosting....all the variations are whizzing through my mind!

Ok that’s enough dreaming... the recipes for each element were originally posted here and here, but I have re-written them below for ease.  Prepare and chill the base and then then prepare and roll out  the frosting layer. Drape over the bottom layer whilst pressing firmly... et voila!  Cut into squares (or whatever shape you like).  Note: Slice into smaller pieces than in the photos as these are very dense and filling indeed!


Recipe: Gingerbread fudge

Makes approx. 20 small squares

Ingredients- gingerbread base (double these ingredients to match the fudge quantities)

120g dates
25g almonds
35g cashews
20g raisins
40g ground oats*
30g buckwheat flour
10g chia seeds
1tbs sliced fresh ginger
1tbs ground ginger
½ tsp mixed spice
½ tsp cinnamon

Ingredients- fudge topping

½  can black beans- rinsed and drained
1 mashed banana
½ cup cocoa powder (or raw cacoa powder)
1/3 cup dates
2 tsp vanilla extract
½  tsp cinnamon
½ tsp stevia
½ cup ground oats*
2 tbs ground flax
2 tbs chia seeds

Method:

Starting with the gingerbread base; blend the ingredients together very well.  Press the mixture into a loaf tin, or any tin of an appropriate size so that you have approx. 15mm thickness.

Chill the base layer in the fridge whilst you prepare the fudge.

Blend all the ingredients together to achieve a thick soft dough. Using two pieces of baking parchment, if necessary, roll the fudge to approx. 10mm thick. Remove the gingerbread from the fridge and lift from its tin.

Drape the fudge layer carefully across the gingerbread pressing firmly onto the surface. You may have some fudge remaining (you can form this into balls ro bars). Trim the excess and cut into squares using s sharp knife.

These will keep in the fridge for a week or two. They should also freeze well since I have successfully frozen the gingerbread and fudge elements individually.


You can find all of my 'no bake treats' here.

 * for further guidance on making gluten free choices please see this post.

For tips and info on recipe measurement conversions, ingredients, substitutions and the methods behind how I do things.... check out my 'baking tips' tab at the top of the page.

Saturday, 28 April 2012

Chewy coconut granola bars

Remember I mentioned my coconut overload? Well, I’m still hot on the coconut infused recipes and this one is no exception, although you can easily change things around and sub the coconut if you want as it’s a super versatile concept.

This recipe was originally generated by accident…following a batch of chocolate granola gone wrong. That will teach me to mess with things when they are perfect as they are. Anyway, this particular batch was a little lacking in flavour and was very crumbly, still edible but not enjoyable as a snack on its own.

So chewy granola bars to the rescue!  This could easily have been a no-bake recipe as the banana holds everything together, however to me they were like chunky versions of smoosh bars, and  I wanted something a little firmer… so I baked them for 10 minutes. Just enough to firm them up but so they still retained the lovely chewy texture.

You can use any fruits and nuts you like and if you don’t have granola you can toast some oats and use those. I used chocolate granola, but if yours is plain feel free to throw in some cacoa powder or maybe even some cocoa nibs for a bit of raw chocolately goodness!


Recipe: chewy coconut granola bars

Makes one 8” pan

Ingredients
1 medium banana- mashed well
2 tbs chia seeds
1 cup mixed fruit ( I used raisins/dates/cranberries/figs
½ cup coconut flakes (or crushed nuts)
1 cup granola (I used homemade choc granola)

Method

Blend all ingredients, except the granola, together in a food processor on medium speed (so the fruit doesn’t break up too small) or mix well by hand. Add the granola last, mixing through well.

Press firmly into a lined square pan. You can either keep these raw and simplychill until firm or you can bake them for approx.10 mins at 180C.

Once cooled/firm cut into bars and store in the fridge for up to 1 week.


For tips and info on recipe measurement conversions, ingredients, substitutions and the methods behind how I do things.... check out my 'baking tips' tab at the top of the page.

you may also like

Related Posts Plugin for WordPress, Blogger...